
A backyard greenhouse can stretch your growing season by months — but only if the temperature, humidity, and watering stay in the sweet spot while you’re at work or asleep. That’s where a smart greenhouse comes in. The good news: you don’t need an engineering degree, a Raspberry Pi, or a commercial budget. With a few affordable, off-the-shelf gadgets, any home gardener can automate the boring, plant-killing parts of greenhouse growing and harvest fresh food nearly year-round.
This guide walks you through building a smart greenhouse the homestead way: pick the right structure, add five simple pieces of automation, and let the greenhouse babysit your plants for you.
Key Takeaways
- A “smart” greenhouse for home growers means a few cheap automated gadgets — not industrial sensor networks.
- The five things worth automating: ventilation, temperature, watering, humidity, and monitoring.
- An automatic vent opener and a wireless thermometer are the two highest-impact upgrades, and both cost under $40.
- Solar power keeps an off-grid greenhouse running without wiring or a trenched power line.
- With automation handling the daily swings, you can grow tomatoes, greens, and herbs through the shoulder seasons and even winter.
What “Smart Greenhouse” Means for a Home Gardener
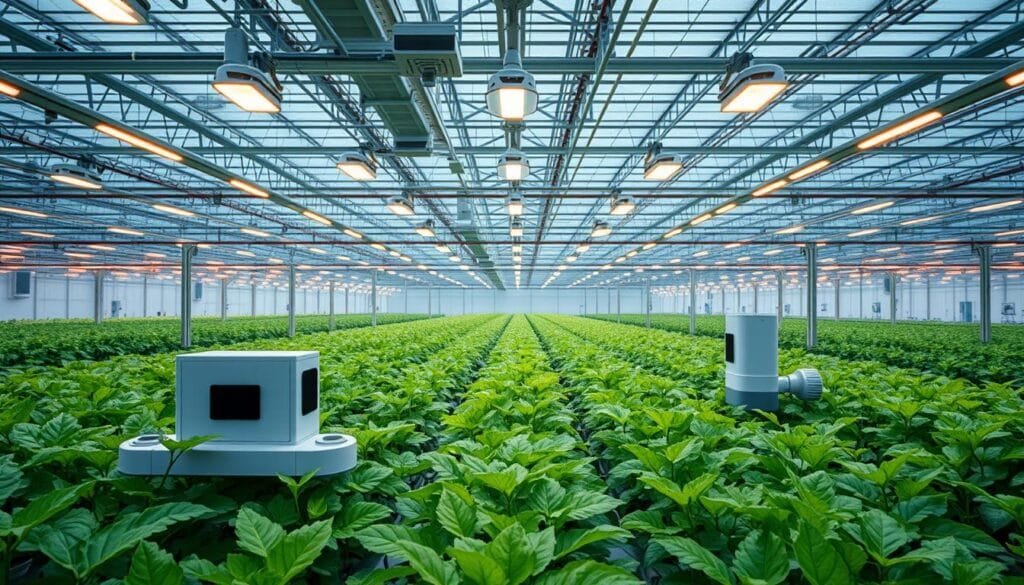
When big commercial operations talk about “smart greenhouses,” they mean cloud dashboards, climate computers, and racks of industrial sensors. For a backyard grower, smart means something far simpler and more useful: devices that react to your greenhouse’s conditions automatically so your plants never cook, freeze, or dry out while you’re not looking.
The single biggest threat to greenhouse plants isn’t cold — it’s heat. On a sunny 60°F day, a closed greenhouse can rocket past 100°F in under an hour and scorch your seedlings. Automation solves exactly this kind of problem without you standing there with a thermometer all day.
The Five Things Worth Automating
- Ventilation — opening vents before the greenhouse overheats
- Temperature — kicking on a heater or fan at set thresholds
- Watering — drip irrigation on a timer so nothing wilts
- Humidity — tracking moisture to prevent mold and fungal disease
- Monitoring — a wireless sensor that texts the readings to your phone
Nail those five and you have a greenhouse that runs itself most of the day. Let’s build it.
Step 1: Choose Your Greenhouse Structure
Before any gadgets, you need the greenhouse itself. Your three realistic options as a home grower:
- Pop-up / hoop greenhouses ($40–$150) — great for a first season or a small raised bed, but flimsy in wind and hard to automate.
- Greenhouse kits ($200–$800) — the sweet spot for most backyards. Aluminum frame with polycarbonate panels, big enough to walk into, and easy to mount gadgets to.
- DIY builds (varies) — PVC or wood frame with poly film or twin-wall panels. Cheapest per square foot if you have the time and tools.
If you want something that lasts and can take automation, browse walk-in polycarbonate greenhouse kits. Look for twin-wall polycarbonate (better insulation than single-wall or film), a solid aluminum frame, and at least one roof vent you can fit an automatic opener to.
Sizing tip: buy bigger than you think you need. Gardeners almost universally regret going too small — and a larger air volume swings temperature more slowly, which makes automation easier.
Step 2: Add the Five Smart Upgrades
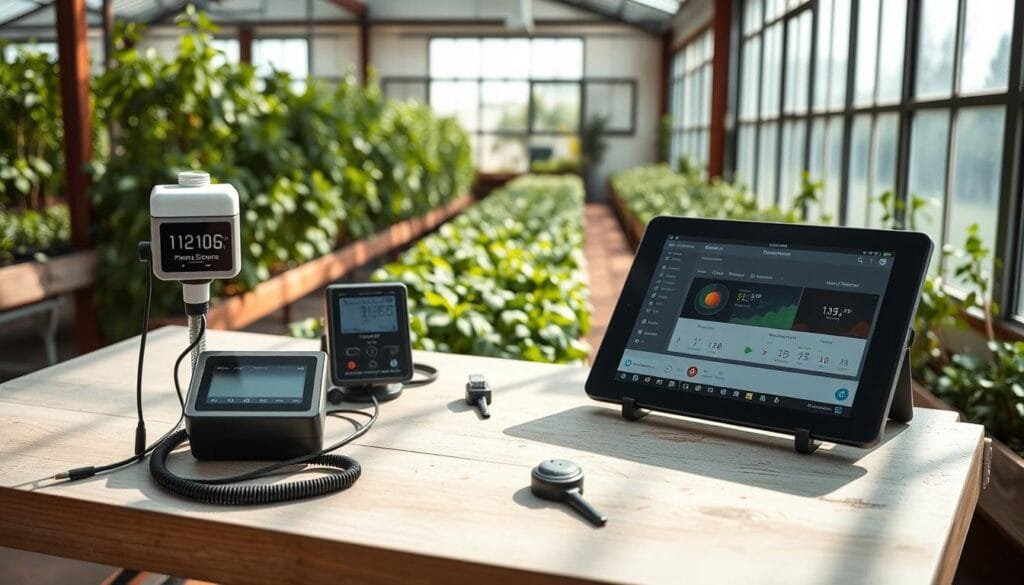
1. Automatic Vent Opener (the #1 upgrade)
This is the gadget that earns its keep on day one. An automatic vent opener uses a wax-filled cylinder that expands as it warms and pushes the vent open — no electricity, no batteries, no wiring. It opens around 60–70°F and closes as things cool. For under $30, it prevents the most common way greenhouse plants die. Grab a solar (wax-cylinder) vent opener for every roof vent you have.
2. Wireless Thermometer & Hygrometer
You can’t manage what you can’t measure. A wireless indoor/outdoor thermometer with a humidity readout sends the greenhouse’s temperature and moisture straight to a display in your kitchen — or, with a WiFi model, to your phone with high/low alerts. This is your “monitoring” layer. A WiFi thermometer-hygrometer runs $20–$40 and pays for itself the first time it warns you of a hard frost.
3. Smart Plug for Heater & Fan
A WiFi smart plug turns any “dumb” greenhouse heater or circulation fan into an automated one. Pair it with the thermometer above (many ecosystems let a temperature sensor trigger a plug) or just schedule it. Set a small heater to hold a frost-free minimum overnight, and a fan to run midday for airflow. Outdoor-rated WiFi smart plugs start around $12.
4. Drip Irrigation on a Timer
Hand-watering is the second-most-common reason backyard greenhouses fail — miss two hot days and your harvest is gone. A simple drip kit with a battery timer waters on schedule whether you’re home or not. It also keeps water off the foliage, which cuts down on fungal disease. Start with a drip irrigation kit with a timer. This pairs perfectly with container growing — see our guide to growing tomatoes in containers.
5. Soil Moisture Meter
The cheapest insurance in the greenhouse. A handheld or wireless soil moisture meter tells you whether to water before you over- or under-do it — the leading causes of greenhouse plant stress. A soil moisture meter costs under $15 and lasts years.
Step 3: Power Your Greenhouse Off-Grid
If your greenhouse is far from an outlet, you don’t have to trench a power line. A small solar setup — a panel, a battery, and an inverter — can run fans, a thermometer, and smart plugs all season. Solar is renewable, has near-zero operating cost, and keeps your greenhouse running through outages.
| Power Source | Best For | Watch Out For |
|---|---|---|
| Solar + battery | Off-grid or far-from-house greenhouses | Upfront cost; size the battery for cloudy days |
| Extension from house | Greenhouses within ~50 ft of an outlet | Use an outdoor-rated, GFCI-protected cord |
| Wax-cylinder vent openers | Ventilation anywhere | None — they need no power at all |
For a deeper dive on panels, batteries, and backup, read our best energy solutions for off-grid living and our roundup of best solar-powered gadgets for off-grid living.
Step 4: What to Grow in Your Smart Greenhouse
Once automation handles the daily temperature and water swings, a greenhouse becomes a four-season food factory. Reliable performers:
- Cool season (fall–spring): lettuce, spinach, kale, arugula, radishes, and hardy herbs.
- Warm season (extended): tomatoes, peppers, cucumbers, and basil — started weeks earlier and harvested weeks later than outdoors.
- Winter (with a frost-free minimum): mâche, chard, green onions, and overwintered alliums.
Hungry for more? See the benefits of growing your own food, and when harvest rolls in, learn to preserve your herbs so nothing goes to waste.
Sensor Placement & Simple Monitoring Tips
You only need a couple of sensors, but where you put them matters:
- Mount the thermometer at plant height, in the shade — not in direct sun or up near the hot roof, or you’ll get false highs.
- Keep the humidity sensor near the canopy where mold actually forms.
- Place the soil meter in your driest, fastest-draining container as your “canary.”
- Set your WiFi thermometer’s high alert at ~90°F and low alert a few degrees above freezing so you get a heads-up before damage happens.
Smart Greenhouse Budget: Three Tiers
| Tier | What You Add | Rough Cost |
|---|---|---|
| Starter | Automatic vent opener + soil moisture meter + basic wireless thermometer | $50–$70 |
| Mid | Add WiFi thermometer-hygrometer + smart plug + drip irrigation timer | $120–$180 |
| Advanced | Add solar power kit + second vent opener + circulation fan on a smart plug | $350–$600 |
You don’t have to do it all at once. Start with the vent opener and thermometer — the two highest-impact upgrades — and add the rest as your garden grows.
Frequently Asked Questions
Do I need WiFi for a “smart” greenhouse?
No. The most important upgrade — an automatic wax-cylinder vent opener — needs no power or WiFi at all. WiFi gadgets (thermometers, smart plugs) are a convenience layer you can add later.
How do I keep a greenhouse warm in winter without a huge power bill?
Insulate with twin-wall polycarbonate, add thermal mass (jugs or barrels of water that absorb daytime heat and release it at night), and use a small heater on a smart plug only to hold a frost-free minimum — not to keep it toasty.
What’s the cheapest way to start?
A pop-up greenhouse plus a $25 automatic vent opener and a $15 soil moisture meter. That trio alone prevents the two most common ways greenhouse plants die: overheating and inconsistent watering.
Start Small, Grow Year-Round
A smart greenhouse isn’t about expensive technology — it’s about removing the few daily chores that quietly kill greenhouse plants. Add an automatic vent opener and a wireless thermometer this weekend, layer in watering and power over time, and you’ll be harvesting fresh food long after your neighbors’ gardens have gone dormant.
Want a season-by-season plan for what to plant and when? Grab our free Seasonal Planting Calendar on the EcoHarvest Home homepage and start mapping out your year-round greenhouse harvest.